1
Create it yourself
Build and schedule the campaign in Aspect, one recipient or one CSV file at a time. The steps below walk through it.
How ConsumerAffairs uses cookies
This website utilizes technologies such as cookies to enable essential site functionality, as well as for analytics, personalization, and targeted advertising. To learn more, view the following link:
Send your customers a co-branded review request from ConsumerAffairs, scheduled for when you want it to go out.

An email campaign is a co-branded email that ConsumerAffairs sends to your customers on your behalf, asking them to review you. It reaches the customers who won’t pick up the phone.
Build and schedule the campaign in Aspect, one recipient or one CSV file at a time. The steps below walk through it.
Download the template from the same section, add your customers and click Upload Email List. We’ll take care of the rest.
Log in to your Dashboard.
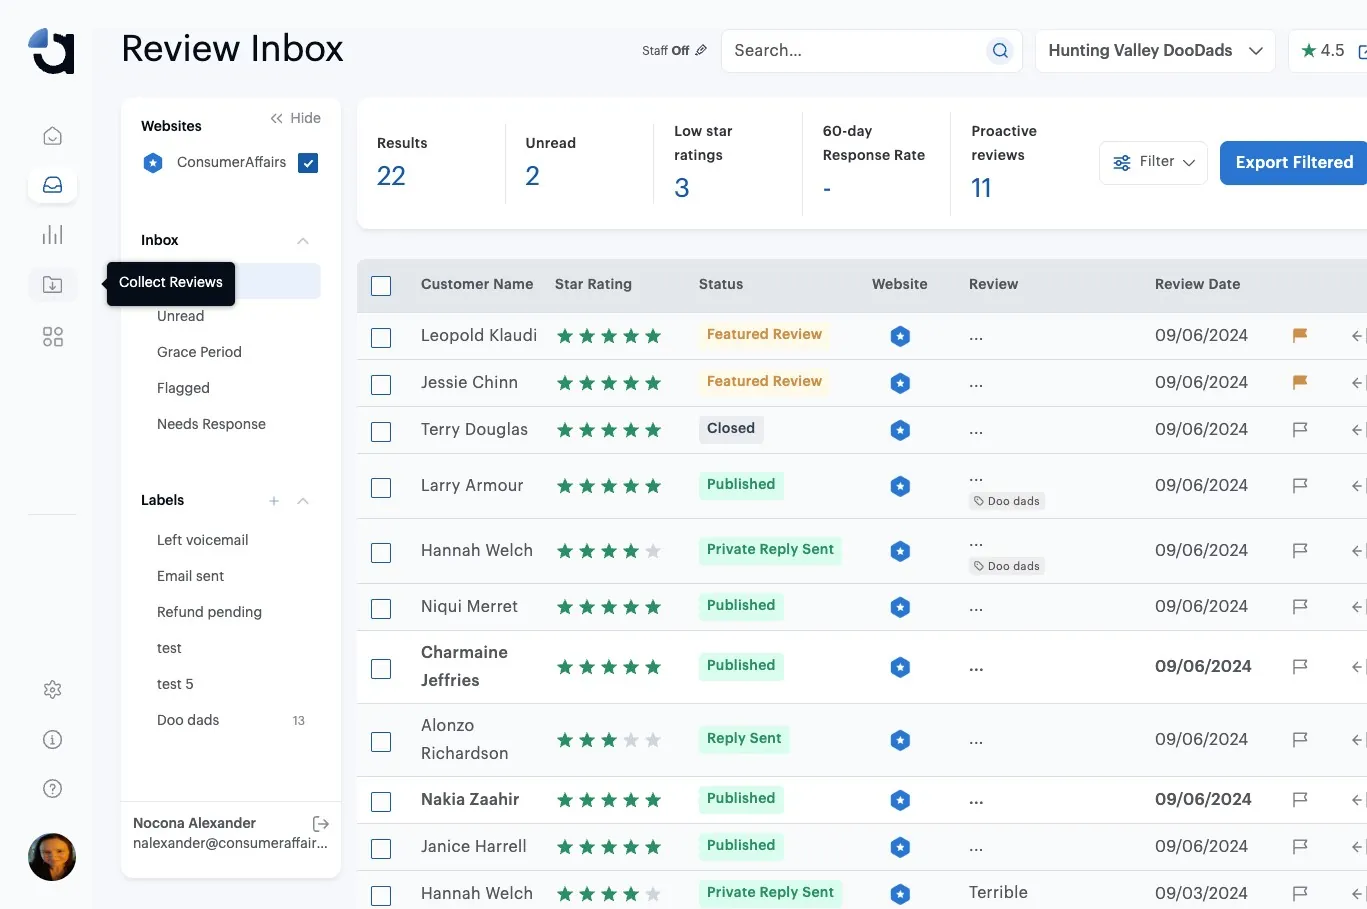
From your navigation menu, click Collect Reviews.
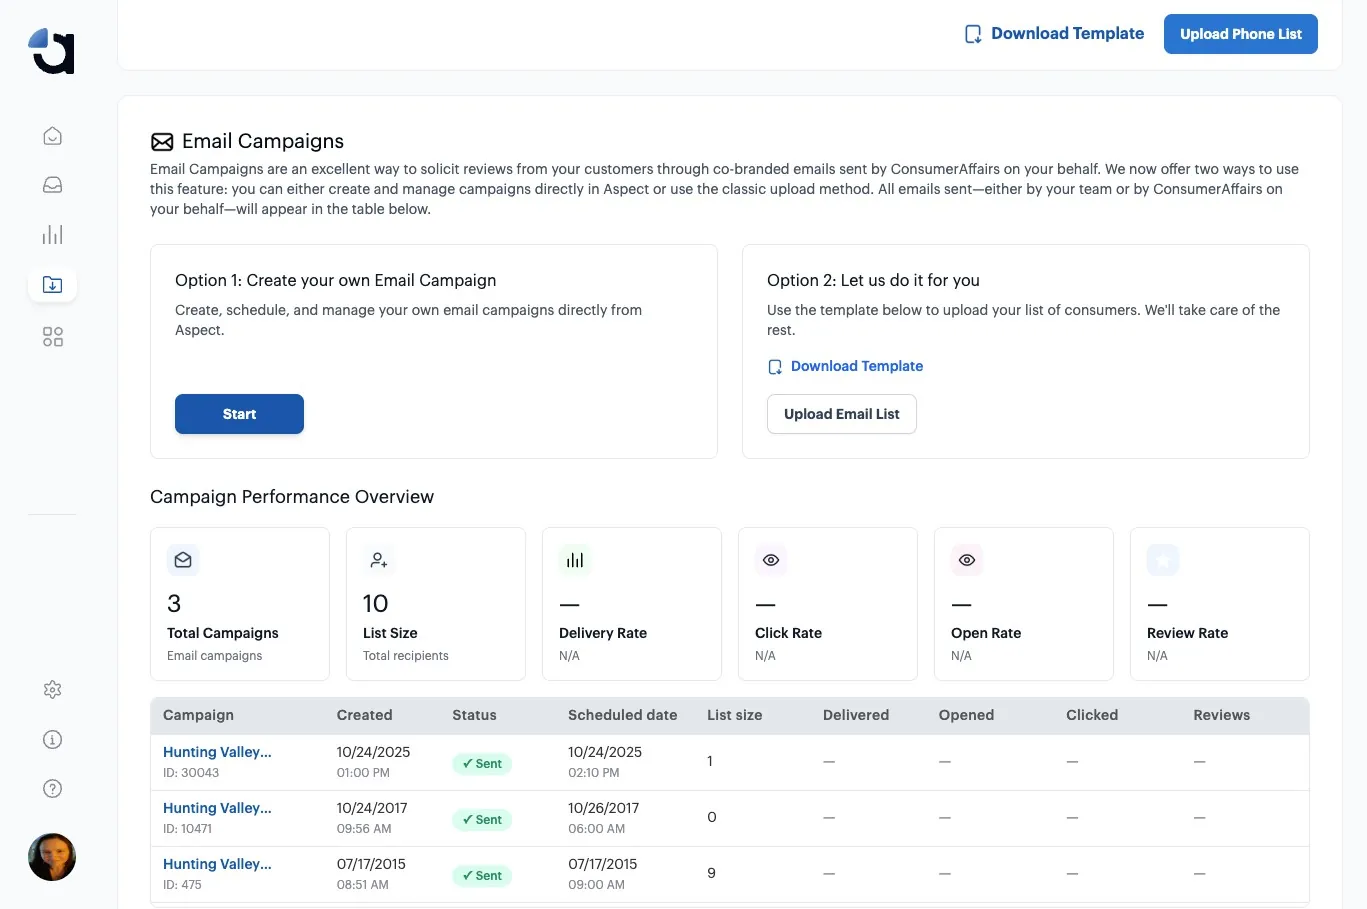
In the Email Campaign section, click “Start” to create your own campaign.
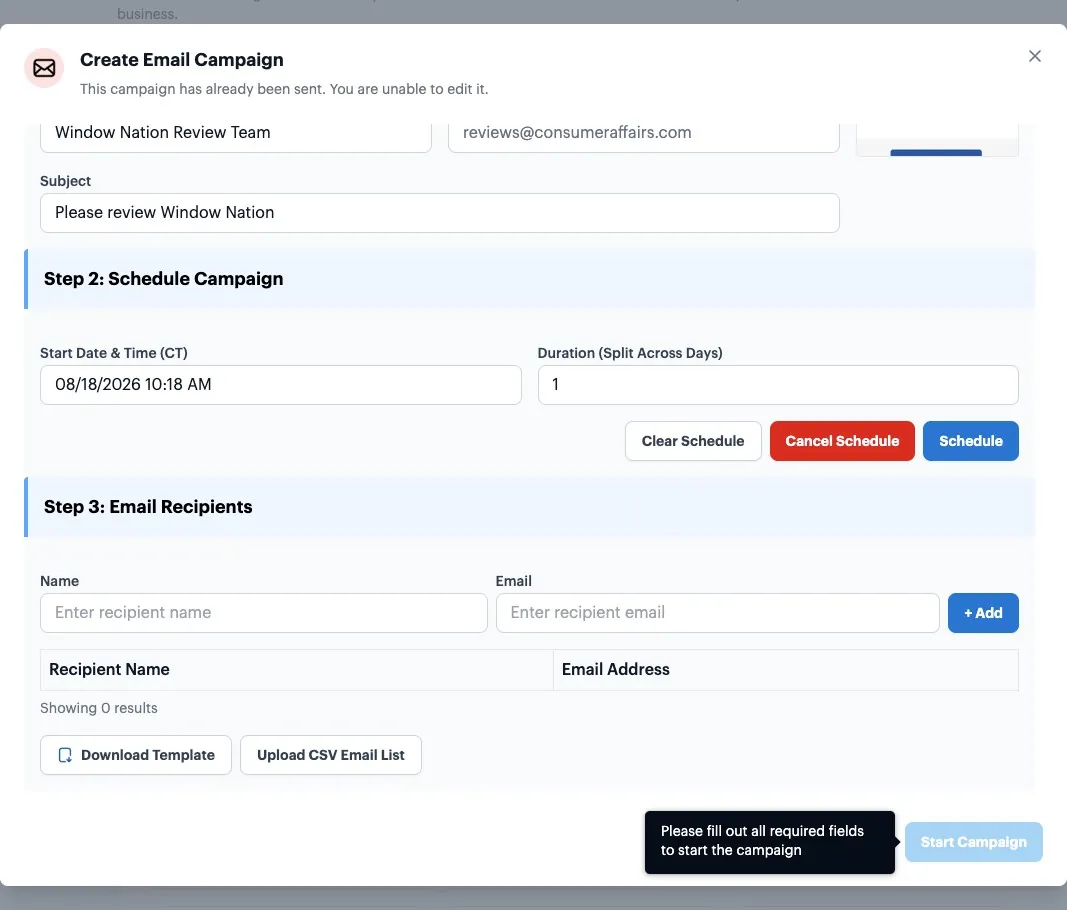
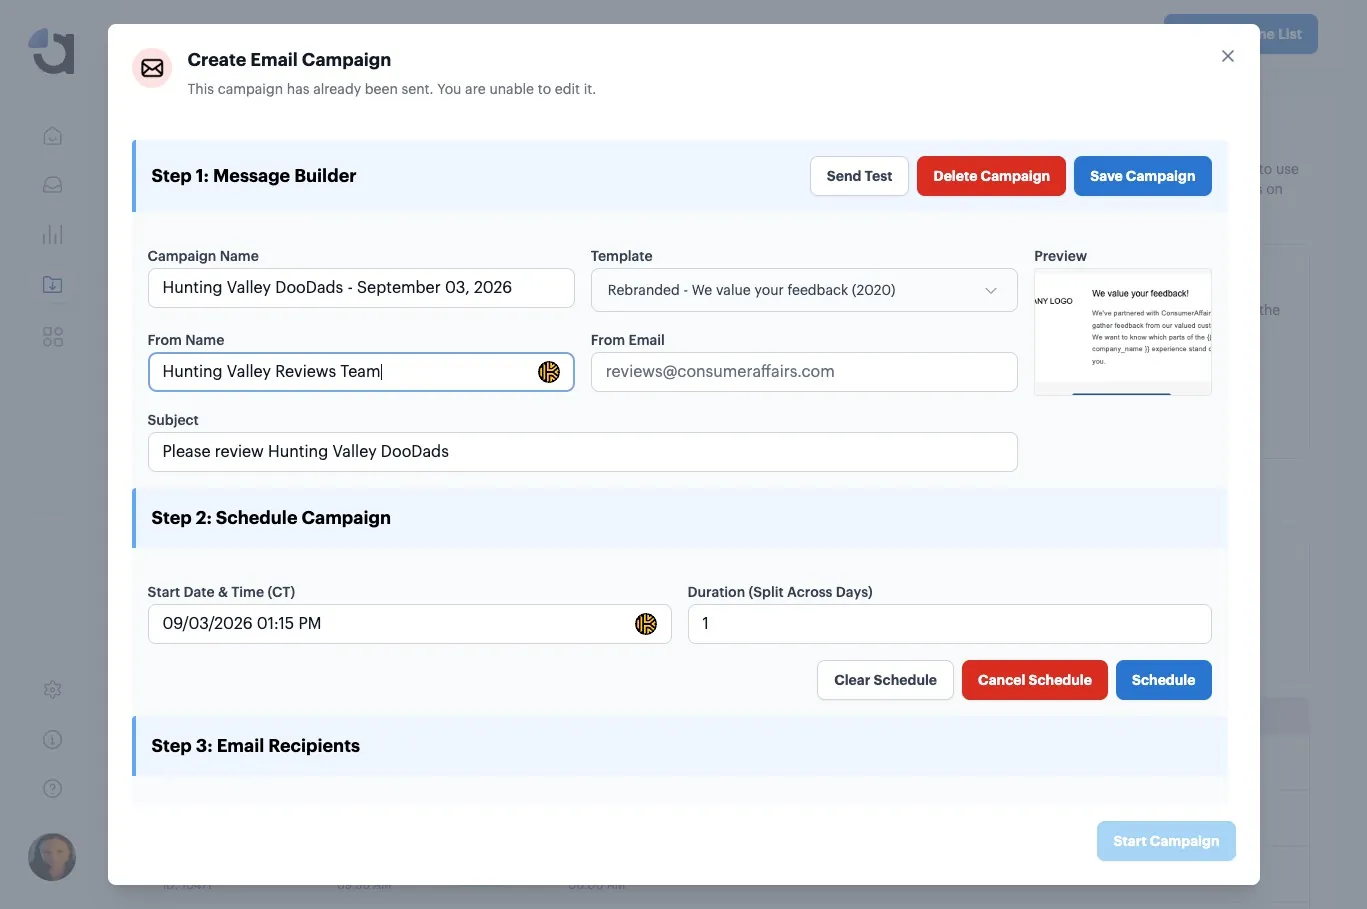
Enter the sender name you want to use.
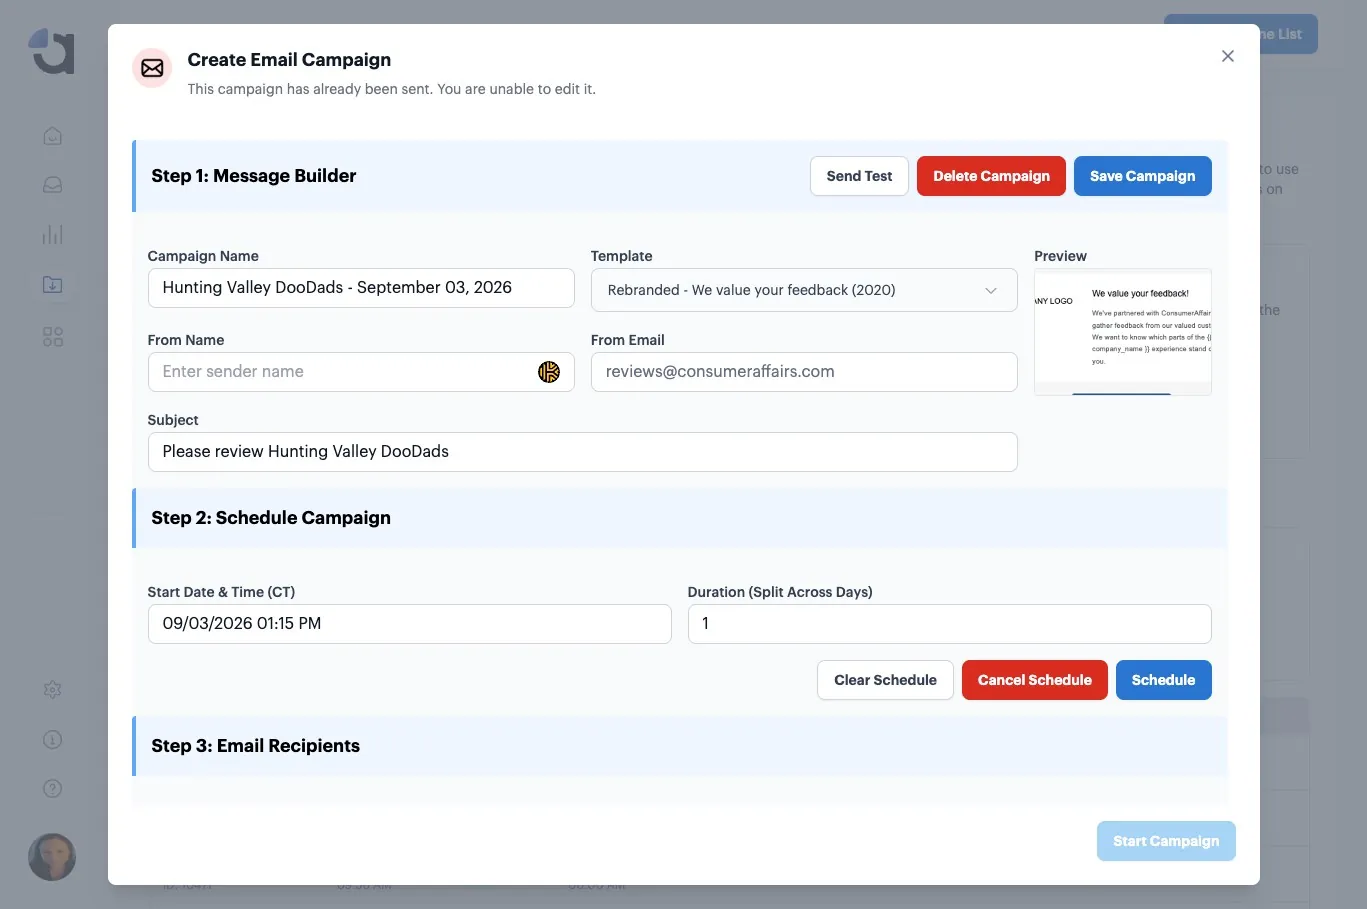
Schedule the date and time you would like to begin sending your campaign. Campaigns must be scheduled at least one hour in advance.
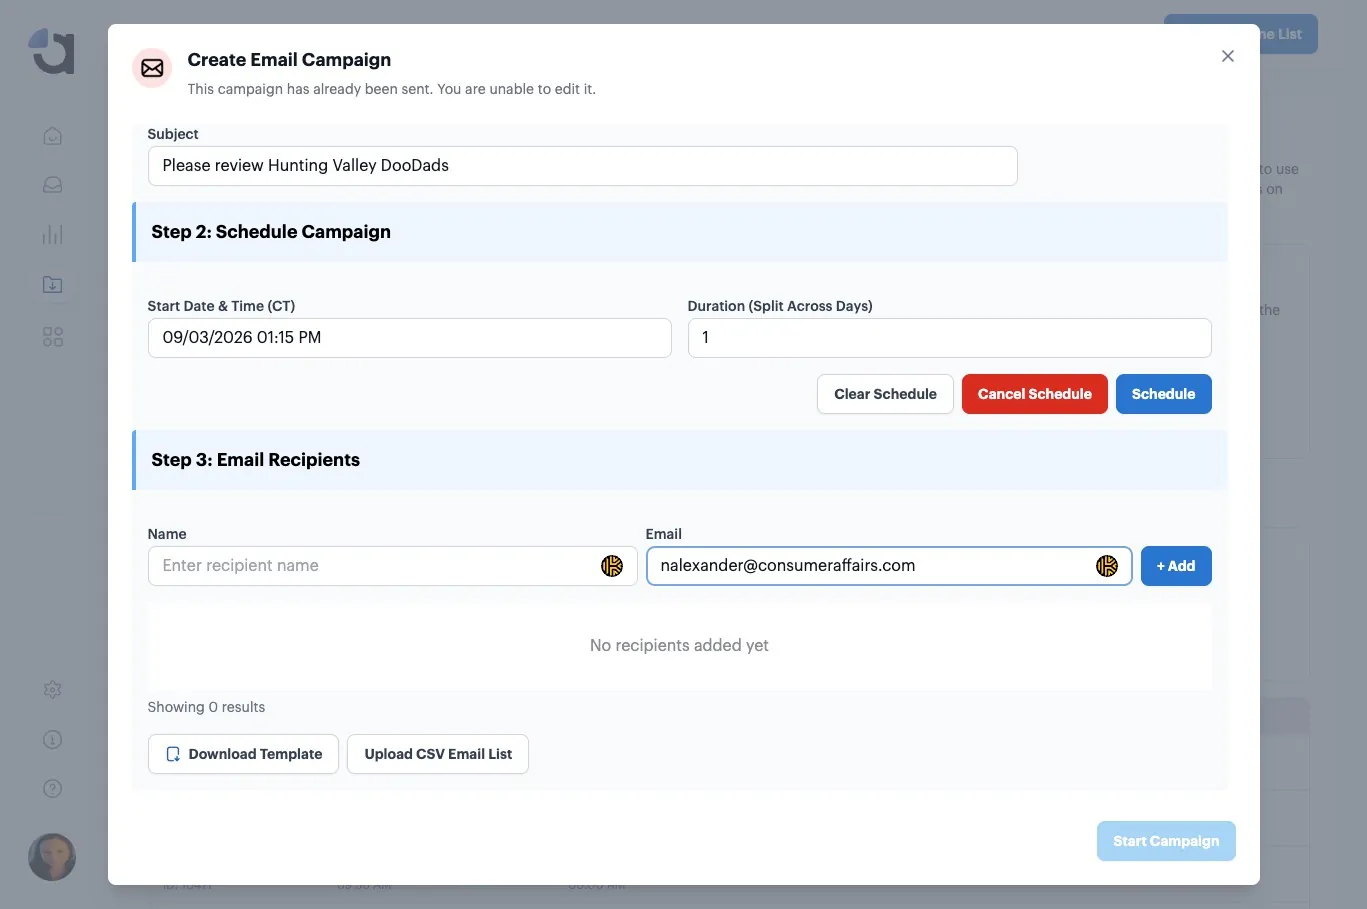
Enter the recipient’s email address.
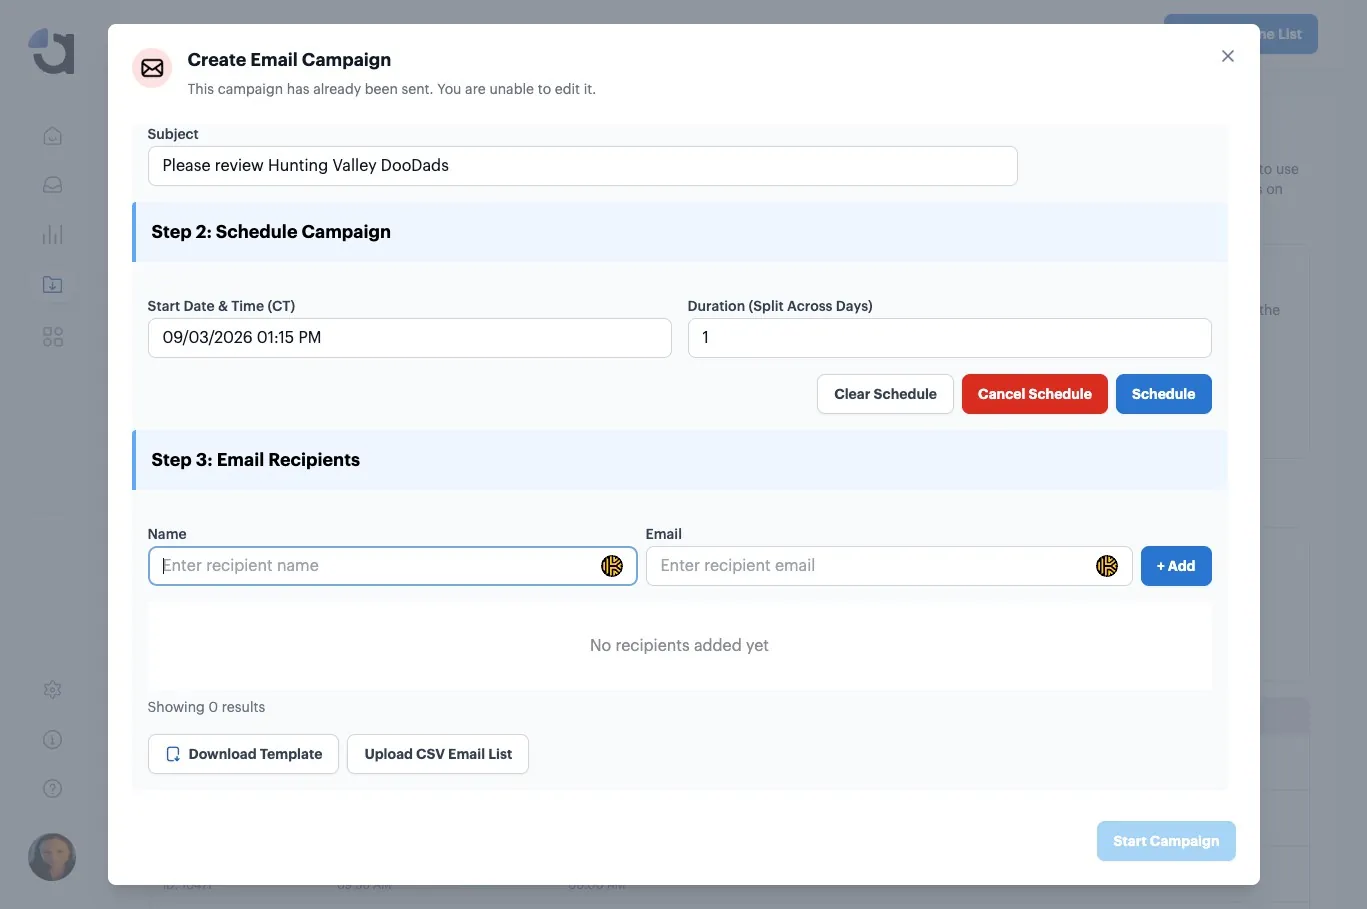
Enter the recipient’s first name.
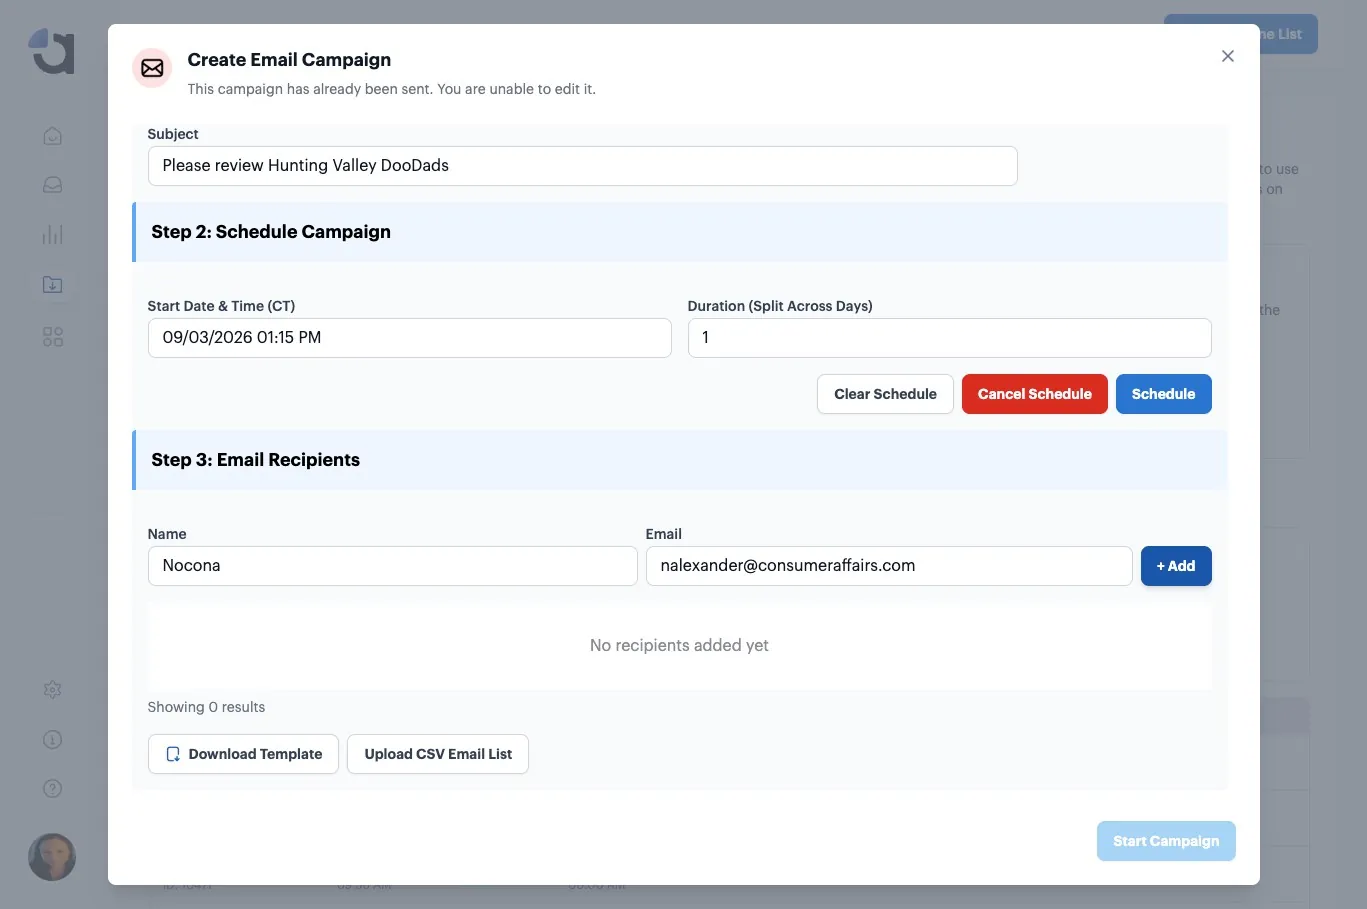
Click “+ Add.” Repeat to add each contact.
Adding a lot of contacts? Upload a CSV file instead. The template is under “Step 3: Email Recipients” in the same window. First name and email address are the only requirements.
Click “Start Campaign” to initiate the send of your email campaign!