1
Required
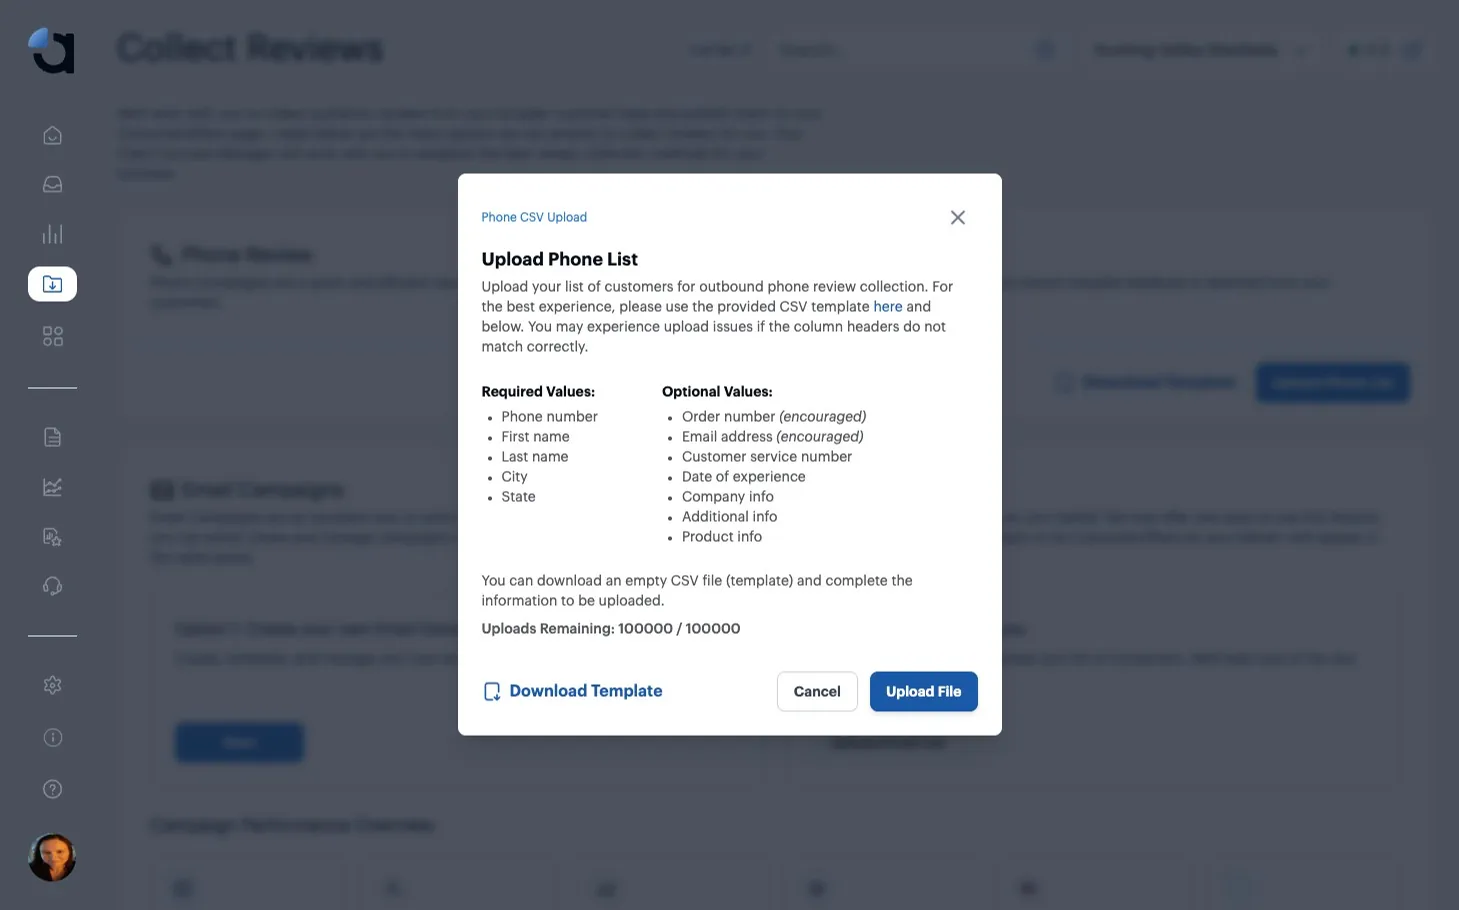
Phone number, first name, last name, city and state. A file without these won’t upload.
How ConsumerAffairs uses cookies
This website utilizes technologies such as cookies to enable essential site functionality, as well as for analytics, personalization, and targeted advertising. To learn more, view the following link:
Upload a list of your recent customers, and an Aspect Expert calls each one to collect a review for you.

A phone list is the file of customers you want us to call. Upload the people who bought from you recently, and an Aspect Expert calls each one to ask how their experience went. To get the most from Aspect, upload a new list once a month.
Phone number, first name, last name, city and state. A file without these won’t upload.
Order number, email address, customer service number, date of experience, company, product and any other detail. The more our callers know about the purchase, the richer the review.
Can’t get the file to format correctly? Email your client success manager and they’ll upload it for you.
Log in to your Aspect Dashboard.
From your inbox, open the “Collect Reviews” tab.
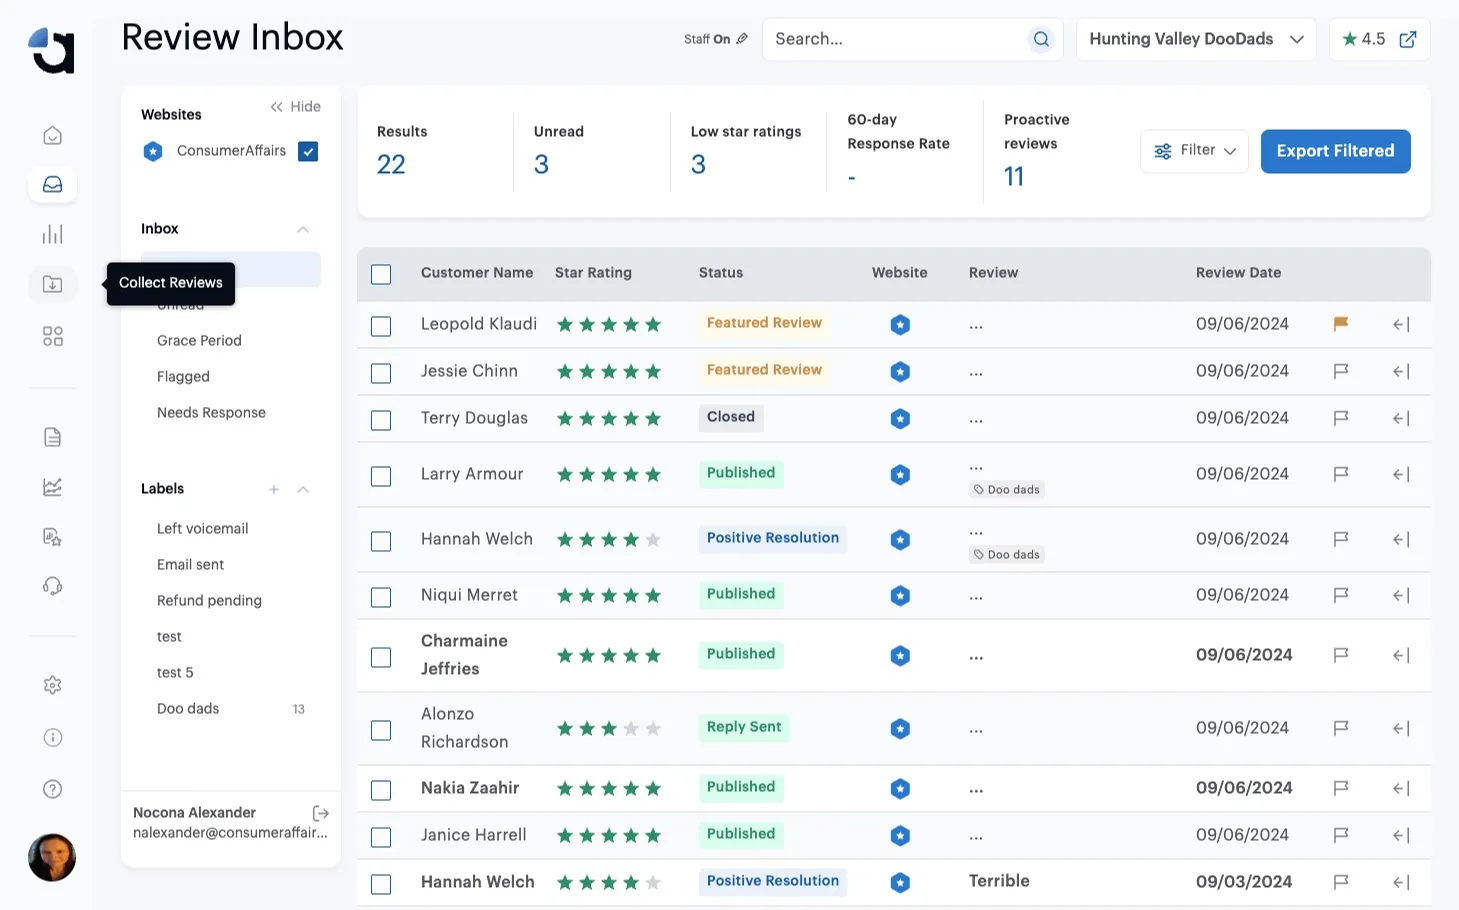
Download our template for ease of use.
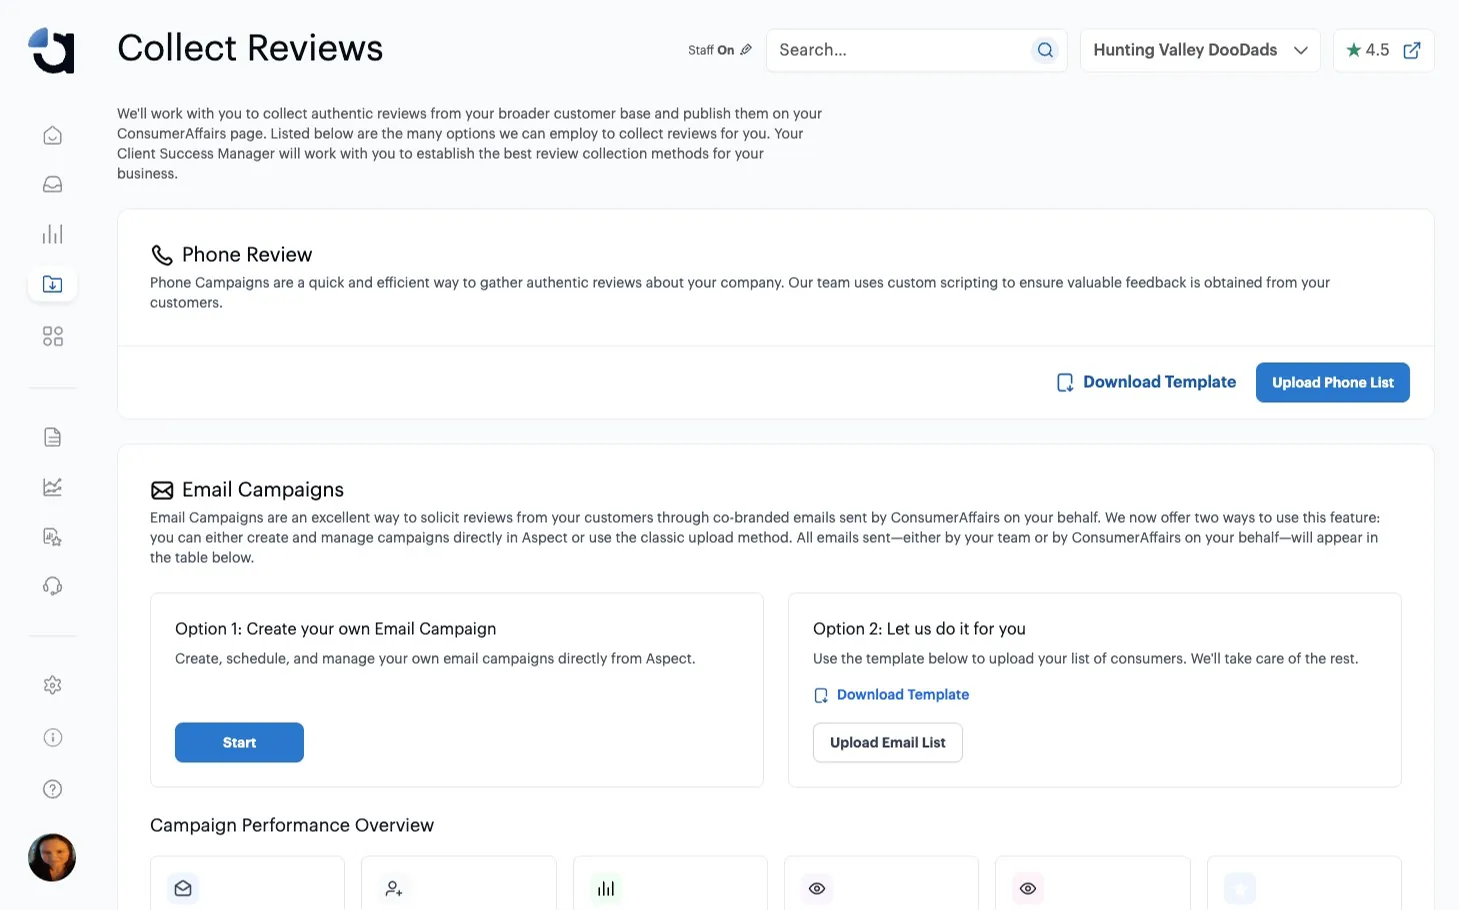
Tip: Name, city, state and phone number are required, but any extra details like product, service or transaction date help our callers get richer, more detailed reviews.
Add your contacts to the template and save it as a CSV file.
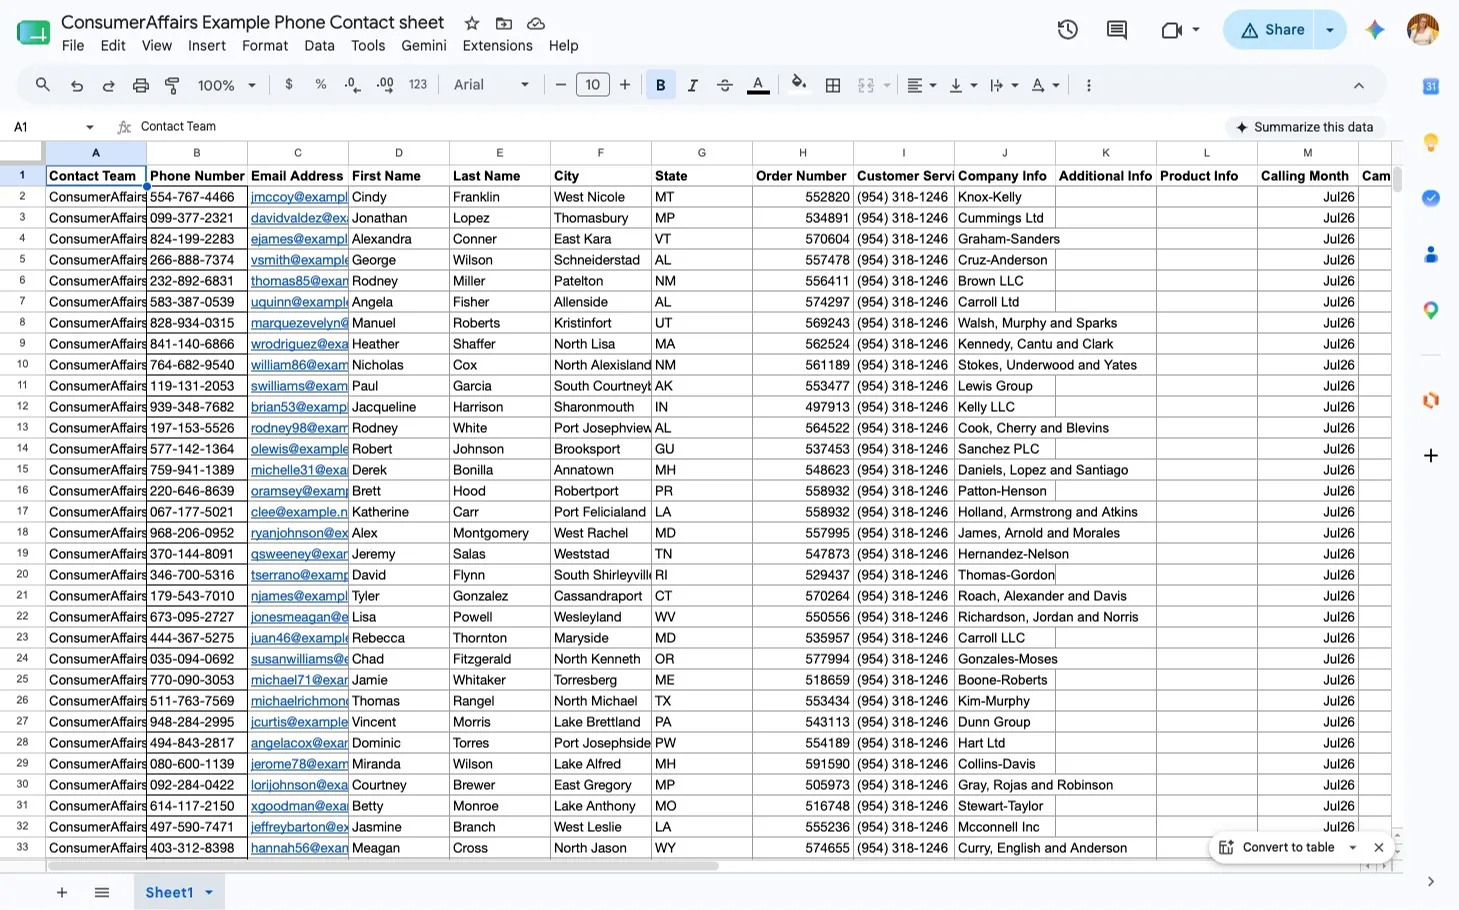
Click “Upload Phone List.”
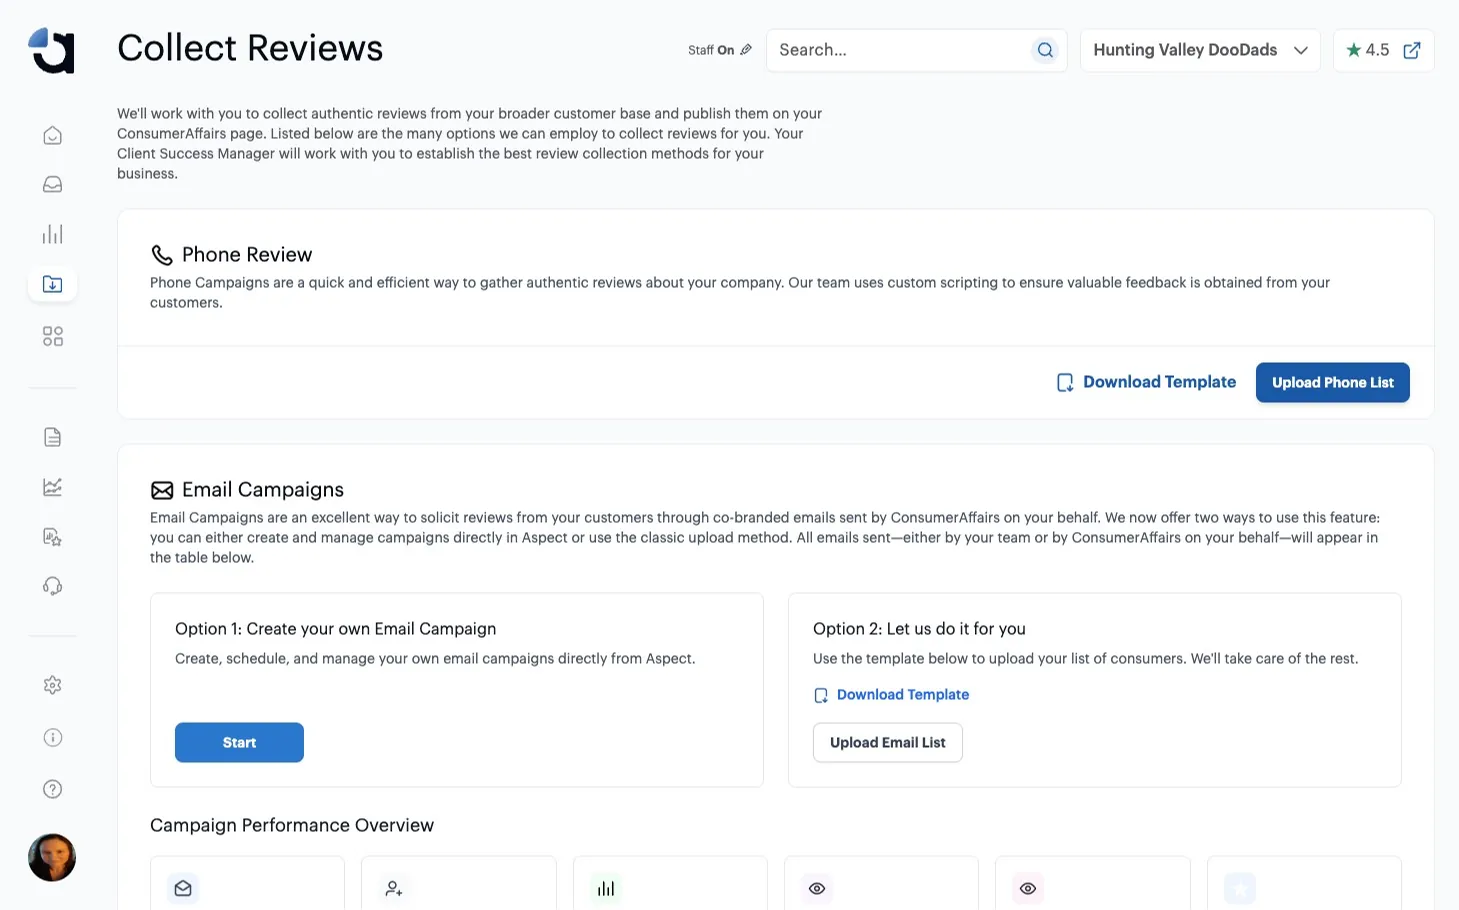
Click “Upload File” to choose your CSV file.
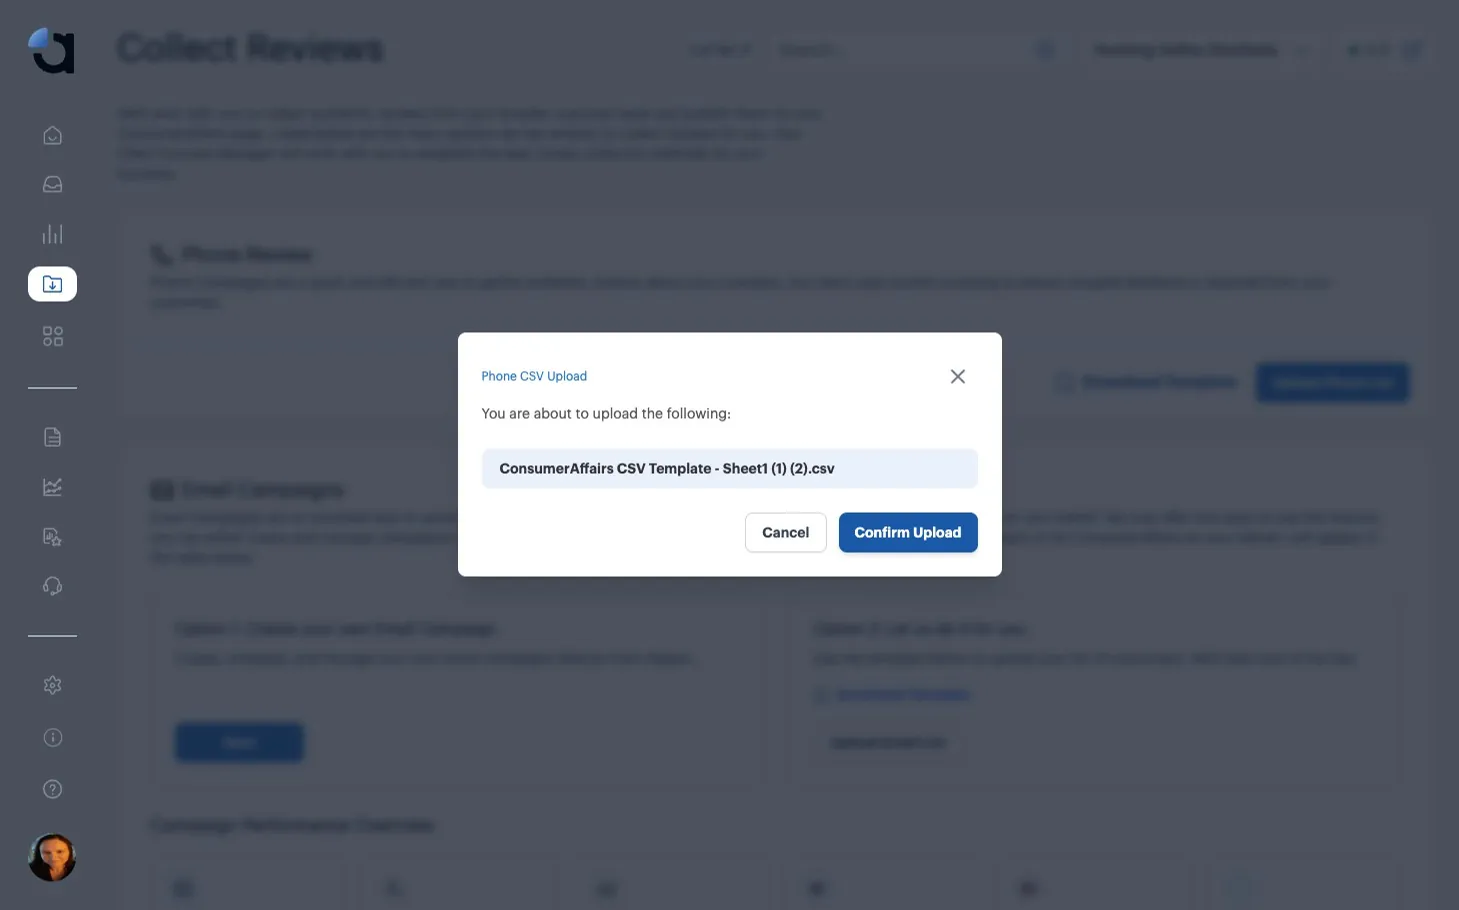
Click “Confirm Upload” to send your list.
Once the upload is complete, click “OK.”
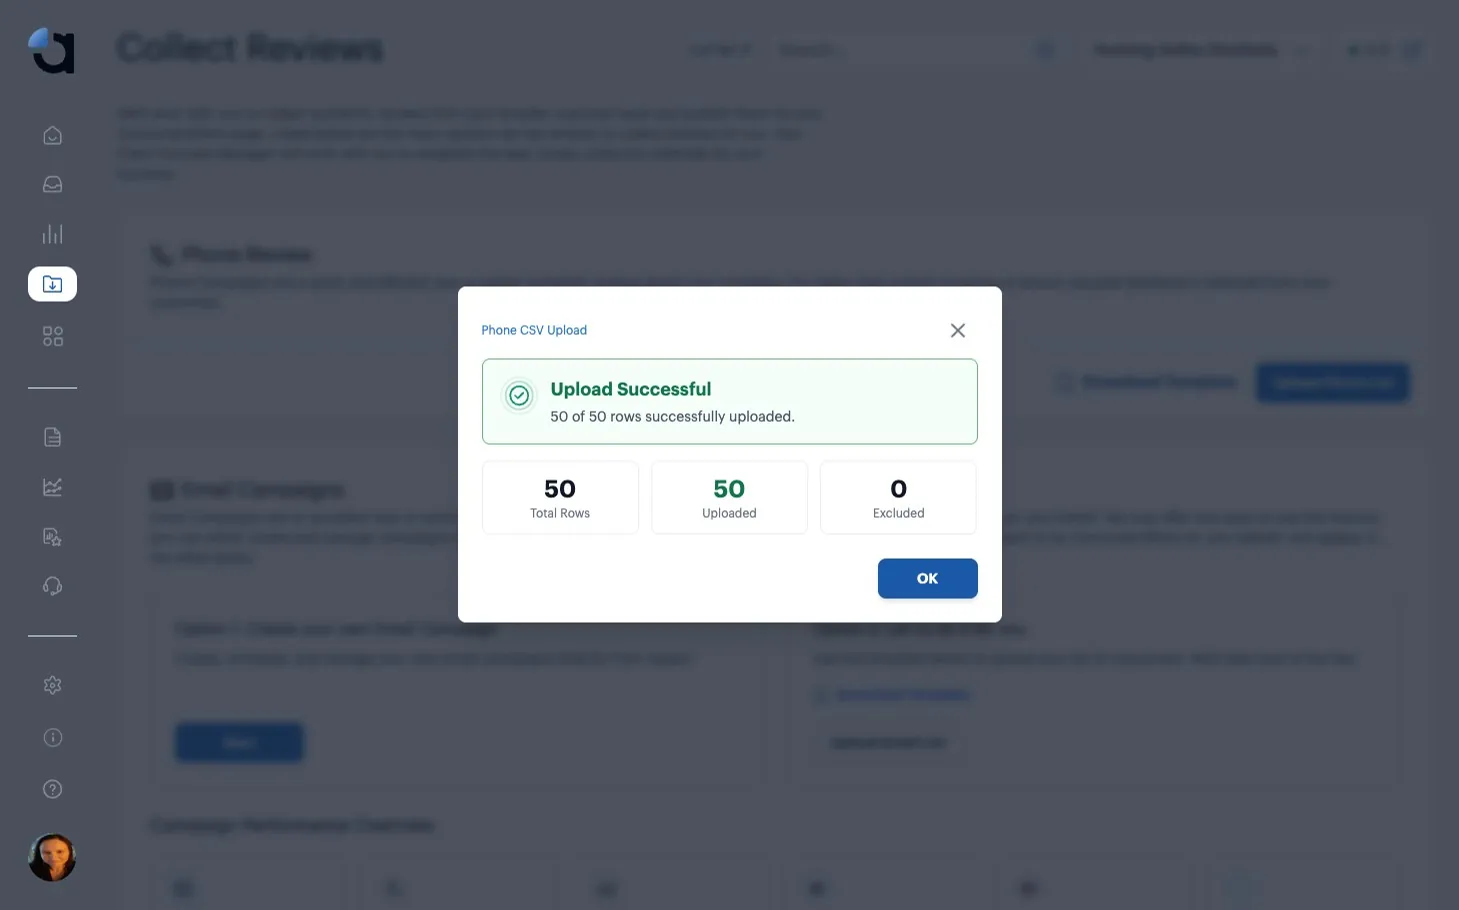
If you receive an error, Aspect will let you know where you need to make changes so your file can be uploaded successfully.